Sunday, July 26, 2020

Tummy flattening exercises on your belly

A great way to exercise on your belly to flatten the tummy. It helps to burn the extra fat around the belly.
1. Breathing 
Sit tall in easy pose. Take a few normal breaths and relax.
2. Lie down on your belly. Lift the right leg up about 45 degrees from the ground and stretch out strong. You can feel the stretch and strengthening of the abdominal muscles. Repeat on the left leg. Repeat for several times. 
3.Cobra Pose 
Lie down on your belly. Place the palms near your face. Breathe in and rise up on your palms with head tall. Breathe out come back to the original position. Repeat for several times.
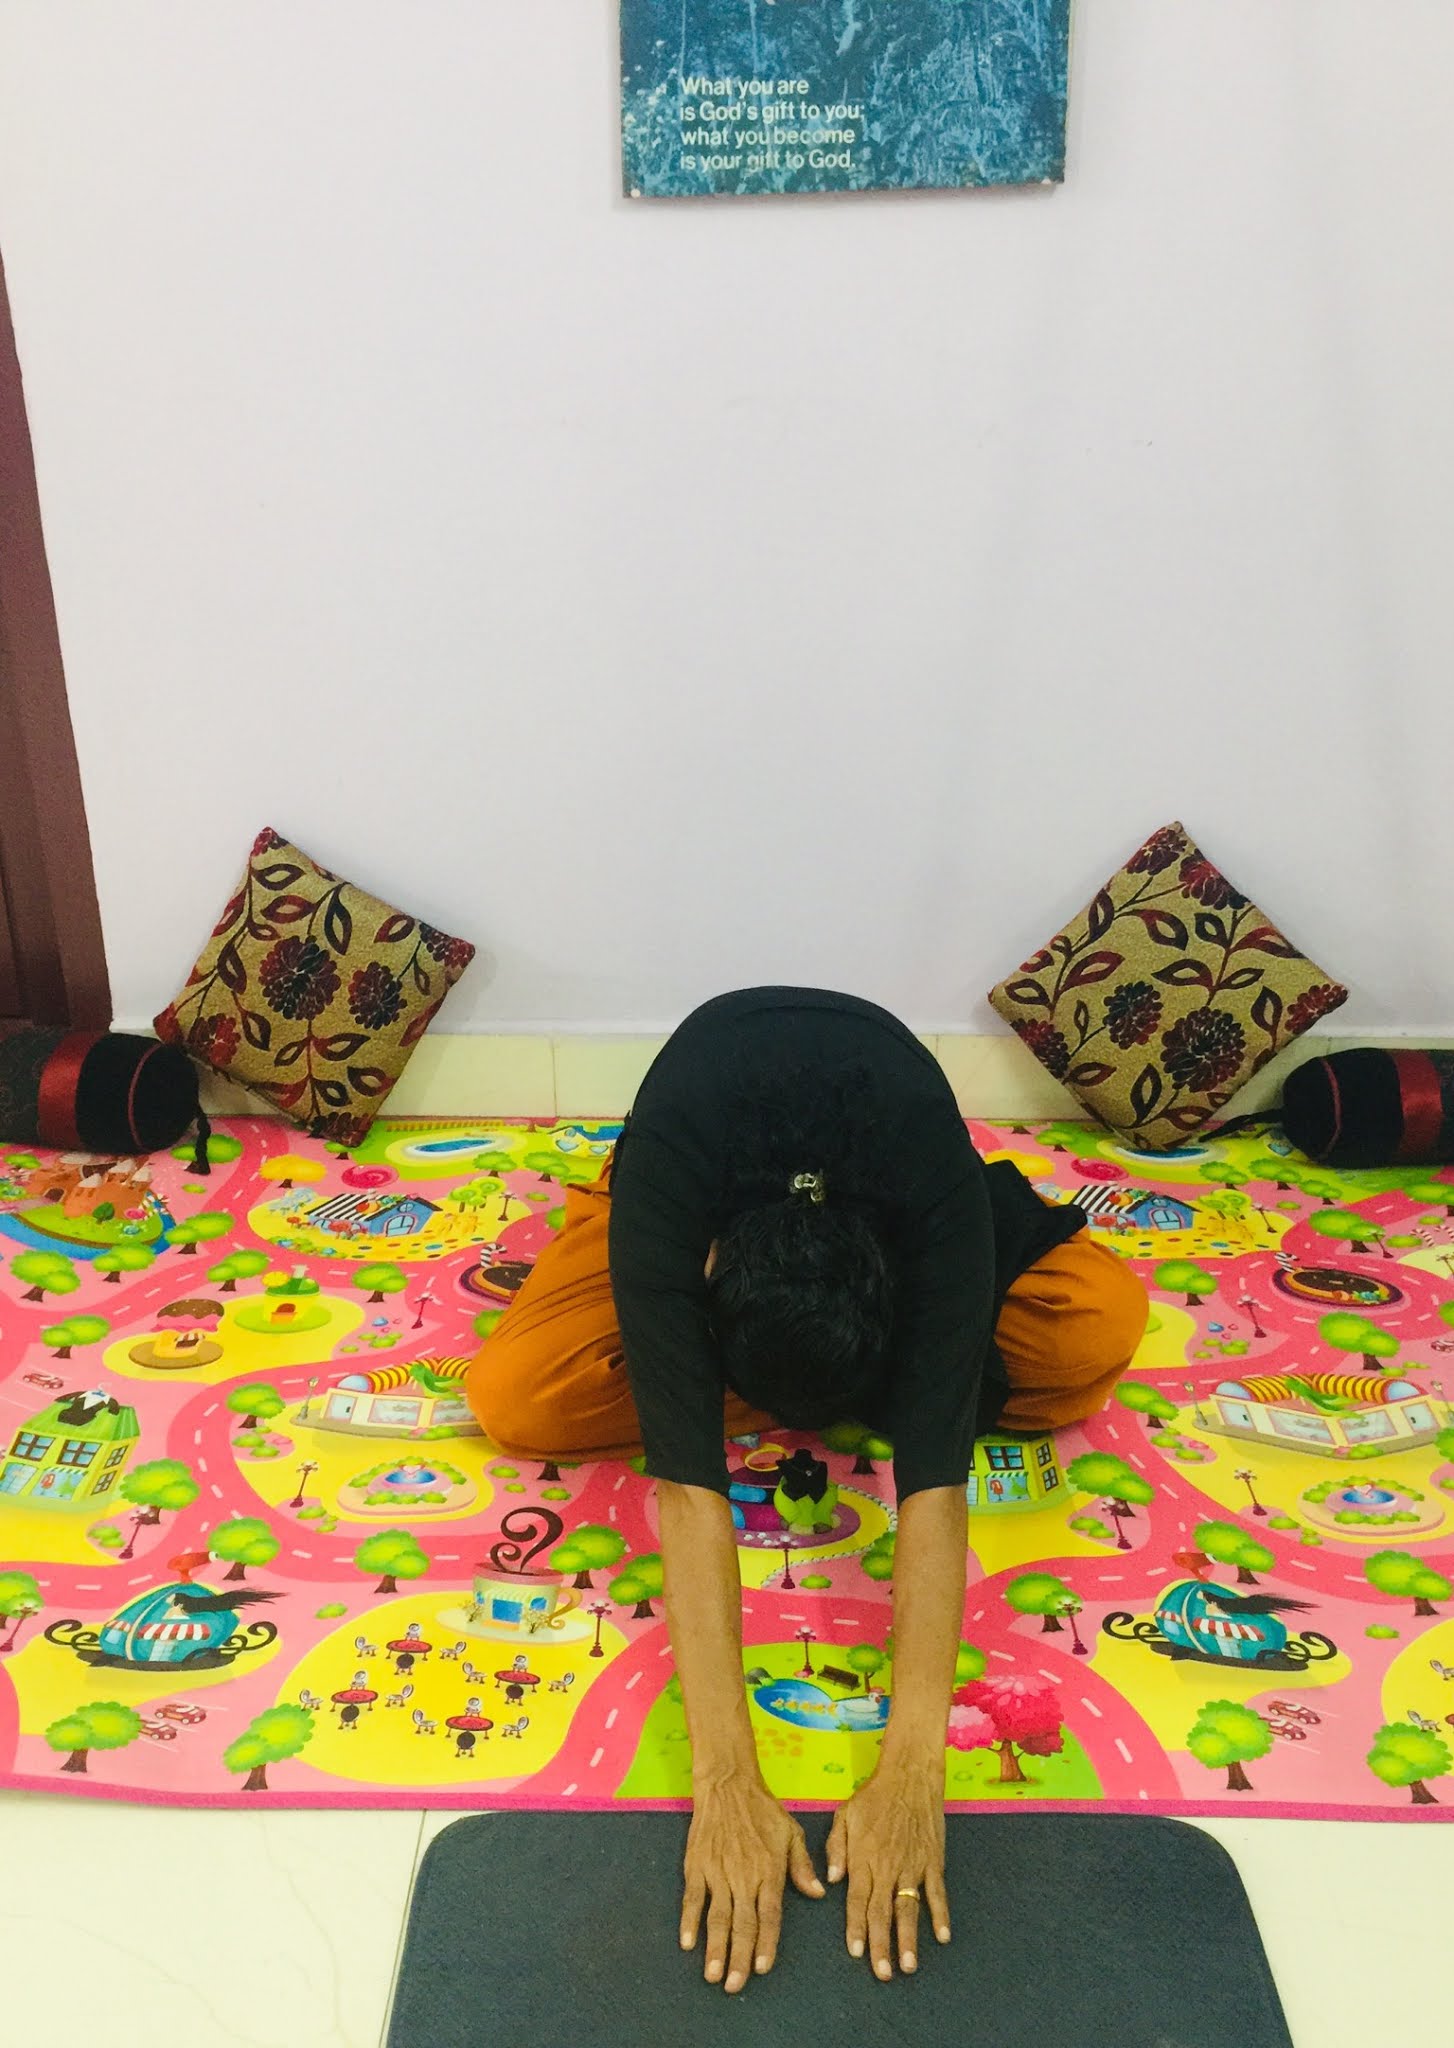
4. Child pose relax 
Lie down on your belly. Face towards right. Bend your right leg up near your hip and right palm near your face. Relax on the pose for a minute.
Practice regularly and achieve your goal.


Tummy flattening exercises on your back

Lay down straight on your back with hands on the dorsals. Take a few normal breaths and relax.
1. Cycling on your back 
Lift your left leg and hand up with right leg and hand stretched out. First step of cycling. Continue in alternate legs and hands. Start cycling steps slowly, speed up and again slowly before concluding. Do the cycling for 10-15 minutes.
2. Half wind release pose
Lie down straight with hands on the dorsals. Inhale, lift your left leg bend at the knee and hold it strong with your palms close to your chest. Exhale lift your head and bring your forehead towards the knee. Inhale, bring your head back to the ground, exhale release your leg. Repeat on the other side. One cycle done. Do it for 5-7 times.
3. Breathing 
Lie down straight and take a few normal breaths and relax.
Regular practice and commitment is the key to achieve the goal.

Tummy flattening exercises in legs stretched forward on the ground

Sit in easy pose. 
1.Take a few normal breaths and relax.
Stretch out the legs in front of you.
2. Head knee pose
Bend the right leg and place the heel on the left thigh joint. Inhale, raise both the hands up above with slightly bending backward. Exhale and grab the left foot with your hands and forehead on the left knee. Hold the pose for 29-30 seconds. Inhale, raise up, exhale back to original position. Repeat on the other side. Continue for 5-7 times.
3. Forward bend 
Sit tall with legs stretched in front. Inhale, raise your hands up with a slight backward bend, exhale and bend forward grabbing the feet with both hands. Hold the pose for 20-30 seconds. Inhale raise up, exhale and back to the original position. Repeat for 5-7 times.
4. Breathing in easy pose 
Sit tall cross legged. Take a few normal breaths and relax.
Regular practice gives great results.


Tummy flattening exercises in chair pose

A great combination of exercises on chair to melt the belly fat. Consistent practice is the key to success. 
1.Sit tall on a chair and take a few normal breaths and relax.
2. Sit tall do cycling with the alternate legs. Raise the right leg up with your hands, hold the thigh close to the abdomen. Bring down, repeat on the left leg. Continue for 5 minutes. Start slowly and speed up. Before concluding slow down.
3. Wide legged forward bend 
Sit tall with legs wide apart.Breathe in raise the hands up, breathe out and bring your palms on the ground in the centre. Repeat on the right foot , to the centre, to the left foot , to the centre and then back to the original position. This is one cycle. You complete 6 inhales and exhales in one cycle. Repeat for 5-7 times.
4. Breathing 
Before concluding take a few normal breaths and relax.


Tummy flattening exercises in Hero Pose

Every one loves flat tummy. Regular exercises and workouts helps to achieve your dream goal.
Some exercises in Hero pose
1. Breathing 
Kneel on the ground and sit tall on your heels. Place your palms on your lap. Take a few normal breaths and relax.
2. Exercise on hero pose 
Raise your hands up and kneel. Bring back your hands and sit on your heels. Start slowly and rise the speed. Do it for 2-3 minutes. Feel the abdomen muscles are stretching and strengthening.
3. Breathing and forward bend 
Form a loop with the tips of your index and thumb. Place the loop on the corresponding thigh joints. Sit tall, breathe in and bend forward while breathing out. Hold the pose for 30 seconds. Breathe in come up and repeat for several times. 
Do the workout for 15-25 minutes.


Saturday, July 25, 2020

Tummy flattening exercise in easy pose

Sit tall in easy pose that is cross legged pose. Take a few normal breaths and relax.
Forward bend 
Sit tall, inhale and raise your hands up. Exhale and bring the upper body flat and  with extended hands on the floor. Hold the pose for 30 seconds visualising the Strengthening of abdominal muscles. Inhale, come up and repeat for several times.
Lifting up and down the folded legs 
Sit tall, lift the legs maximum up with your hands and bring down. Start slowly and speed up the exercise.
Feel the muscles are working in the abdominal and thigh regions.
Do it for 5-10 minutes.
Regular practice gives great results.

Tummy flattening exercises in standing posture

Stand erect with feet apart. Take a few normal breaths and relax.
Do cycling in standing posture for 5-10 minutes. 
Start slowly and increase the speed. Don’t do it forcibly. Do as your body desires. While doing if you get sweat that is the good signal. Do regularly to get the results. Before concluding go for a few normal breaths and relax.

Saturday, July 18, 2020

Yogic Breathing, Kapalbathi

Kapalbathi 
Kapal means Skull, bathi means cleansing.
Kapalbathi is Skull shining.
In Kapalbathi inhale passive and exhale forcibly.
Practice in empty stomach. So the best time to practice is early morning.
While inhaling  fill the tummy with air and while exhaling tuck in the tummy.
Benefits 
1.Aids in digestion.
2.Removes acidity.
3.Reduces belly at. 
4.Removes toxins in the body.
5.Improves brain functions.
6. Enhances memory.
7. Aids in weight loss.
Sit tall. Sit cross legged on the ground.
Take a few normal breaths. Hold chin mudra and place on your thighs.
Inhale and exhale forcibly with a sound.
If you are doing for the first time, go for a count of 10. Then increase slowly. The thumb rule is to complete 1 breathing in a second. So 60 in 1 minute. Take your own time to do it at ease. When you are comfortable do it for 5 minutes.
If you feel any discomfort, stop it and take a break.
If you are having high blood pressure please consult with your doctor before starting.

Yogic breathing Bhramari Pranayama

Breathing is the important segment in yoga.
Pranayama helps the mind to be stable. 
Breath is life. If you breathe well you will live long.
Bhramari is the Indian black beetle, so the breathing out is having the humming sound of the bee. So it is also known as Bee breathing.
Bhramari Pranayama helps 
Reducing stress.
Relieves anxiety.
Relieves hypertension.
Lowers blood pressure.
It is easy to do. Do it on empty stomach.
Three ways to do.
Sit tall cross legged on the ground.


Take a few normal breaths and relax.
1. Place the index fingers on the cartilages of the ears. While inhaling take a deep breath, while exhaling press the cartilages gently and produce the humming sound. Go for a lengthy exhale.
2. Place the thumbs on the cartilages and the fingers on the head. Inhale exhale as above.
3. Place the thumbs on the cartilages, index fingers above the eyebrows, middle fingers on the closed eyelids, ring fingers on the nostril sides and little fingers on the upper lip just below the nose. Inhale exhale as above.
Just after a single breath we can experience the relief.
This breathing can be done whenever you are stressed. Care should be taken to do before a meal. 


Yogic breathing, alternate nostril breathing


Breathing, swasankriya or Pranayama are the breathing exercises in yoga. Breathing is the queen of yoga.
Alternate nostril breathing 
Daily morning practice this breathing and clear the blocked nose. 

Regular practice 
helps relax body and mind.
Reduces anxiety and stress.
Promotes wellbeing.
Clears nasal tracts.
Improves lungs function.
Practice in empty stomach.
Inhale passive and exhale forcefully.
Sit tall in cross legged.Take a few normal breaths.
Hold chin mudra with your left hand and place on the left thigh. Take your right hand, With the thumb close your right nostril. Breathe in through the left nostril, close the nostril with your index finger and exhale forcibly through the right nostril releasing the thumb. Inhale through the right nostril, close it with your thumb, release the index finger from the left nostril and exhale forcibly. Continue likewise for 2-5 minutes. If you are a high blood pressure or hyper tension person please consult with your doctor before starting.
If not possible to sit down then sit on a chair.

Mindful breathing (Pranayama)


Pranayama is the regulation of breath.
Breathing is the soul of yoga practice.
‘Prana’ means energy and ‘ yama’ means control.
Pranayama reduces stress.
Improves health and wellness.
Brings calmness.
Provides mental clarity.
Body and mind gets lighter.
Sit tall. Can sit on the ground cross legged or on hero pose. If not able to sit down, then sit on a chair. 
Hold chin mudra. Chin mudra is by joining the tips of the the index fingers and thumbs. Place the hands on the thighs. 
1. Start breathing normally. Just be an observer.
Which is faster? which is longer ? 
Continue breathing for 2-5 minutes.
Slowly the consciousness in breathing helps to regulate the time of inhale and exhale.
2. Breathing based on counts 
Sit tall and start breathing for counts.
Inhale for a count of 5.
Exhale for a count of 5. 
Likewise you can increase the counts and regulate your breathing.
3. Breathing positivity 
Sit tall, take a few normal breaths.
Inhale love and exhale acceptance.
Inhale kindness and exhale compassion.
Inhale bliss and exhale peace.
Daily go for a 5 minute Pranayama.
Care should be taken for 
Long, steady and deep breathe in &
Slow, steady and long breathe out.

Yoga for Health and Wellness, Side bending dance yoga


Yoga as a lifestyle leads to health and happiness.
Breathing, exercises, asanas and meditation are the important parts in yoga.
Breathing helps the flexibility in movements.
Improves blood circulation.
Makes the muscles flexible and strong.
Strengthens the body.
Helps flatten the belly.
Enhances immunity power.
Improves memory.
After a few breathing in standing posture, a fusion of side bending and stretching poses along with hand feet poses are a nice practice to include in yoga. You can add more poses when you are at ease in doing the practice.

Energizing yoga Poses in standing posture to start the day


Yoga is for everyone irrespective of age, gender, or physical ability. Every one can do yoga according to the flexibility of the body. Dedication and consistent practice helps the practitioner to get in the track. Daily yoga helps lubricating the joints, muscles and cells.
Improves blood circulation.
Oxygenates the cells.
Improves posture.
Enhances mental clarity and skill to focus.
Soothes the nervous system.
Standing postures strengthens the lower body.
After a few breathing then a fusion of asanas is a great way to start the day.
Early morning is the best time to practice yoga.
Mountain, triangle, wheel pose and hand feet pose are the asanas that can be included. These asanas assure stretching up, sideways and downward. Strengthens the muscles, limbs and the body.

Beauty of Yoga


What’s the beauty of yoga? 
Beauty of yoga is Universal.
Yoga is the spiritual connection to the self.
30 minutes yoga workout in a day accelerates the inner beauty. Yoga is the union of mind, body and soul through the breath. 
Beauty of Yoga is not the perfection. Consistent practice is the the key to success.
Be comfortable with your physical body and do yoga with the flow of the flexibility of your body. Regular practice helps to do yoga with more ease. 
If you are on medication for any illness, consult your doctor before starting yoga practice.
Breathing is very important in yoga. Conscious breathing helps to unlock the tightness in your cells, muscles and joints.
Downward facing dog asana
Two ways I like to do it.
One on table top.
Stand on knees and palms.
Breathe in slowly.
Breathe out and raise up on on your fours.
Breathe in and return back and continue for 5 times.
The second one is on hero pose. 
Do a few normal breathing exercises.
Next rabbit pose
Breathe in, raise the 


Tuesday, July 14, 2020

Facial yoga 13, Scalp massage

Yogic massage on scalp improves blood circulation in face. A little attention and massage on the scalp helps feel relaxed. Scalp massage can be done as a warm up or a concluding session in yoga. Scalp massage can be done alone also when you are stressed. 
Scalp massage promotes efficient thinking.
Improves memory.
Reduces the wrinkles.
Fights with aging signs.
How to massage 
Remember to massage with fingers. Avoid fingers nails from massaging. 
1. Gentle tapping 
Tap the scalp gently. This helps to find out any pain, tightness, discomforts or swellings on the scalp.
2. Massaging 
Start massaging with the finger tips from the centre of the forehead towards back of the head.
Then massage from the back base of the neck upward.
Massage from the sides near the ears upwards. 
Use both the hands to massage on both the sides.
Cover massaging the whole scalp.
Scalp massage relieves stress, tension and headaches.
It releases endorphins that leads to stay happy and healthy.